Cutting down a tree with a saw may seem like a daunting task, but with the correct tools, skills, and a little patience, you can do it safely and efficiently. Whether you’re clearing space in your garden or removing a dead tree, understanding how to remove a tree correctly is an important skill. It’s also a terrific way to reconnect with nature while doing a tangible task. Here’s a step-by-step guide for how to cut down a tree with a hand saw or chainsaw.
Safety First!
Before you even touch that saw, safety must be your top priority. Tree cutting is not something to take lightly, and a few precautions can keep you and everyone around you safe.
Gear Up: Equip yourself with essential safety gear: gloves, safety goggles, hard hat, ear protection (especially for chainsaw use), sturdy boots, and long pants.
Clear the Area: Make sure no one is in the potential fall zone, and remove any obstacles (such as cars, garden furniture, or power tools) from the area.
Check for Wind: Even a slight breeze can influence how the tree falls, so if it’s windy, consider postponing the job.
Choose Your Equipment: Hand Saw or Chainsaw?
If it’s a small tree (around 6 inches in diameter or less), a sharp hand saw will do the trick. For larger trees, a chainsaw will save you time and effort. Here’s a quick breakdown:
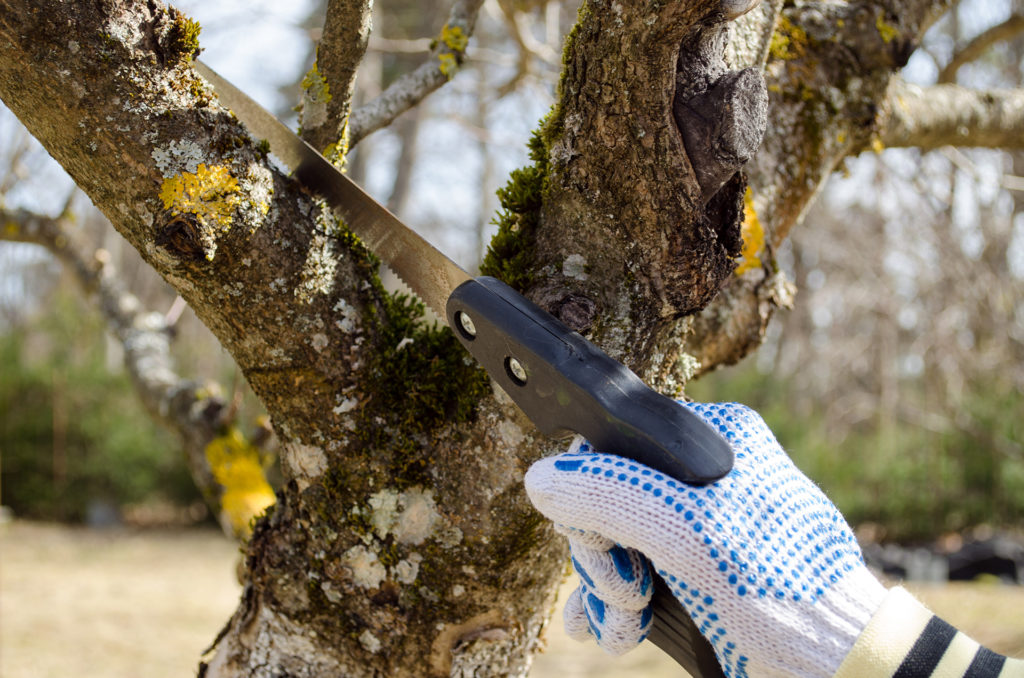
Hand Saw: Good for small trees, quieter, less intimidating, and great for beginners.
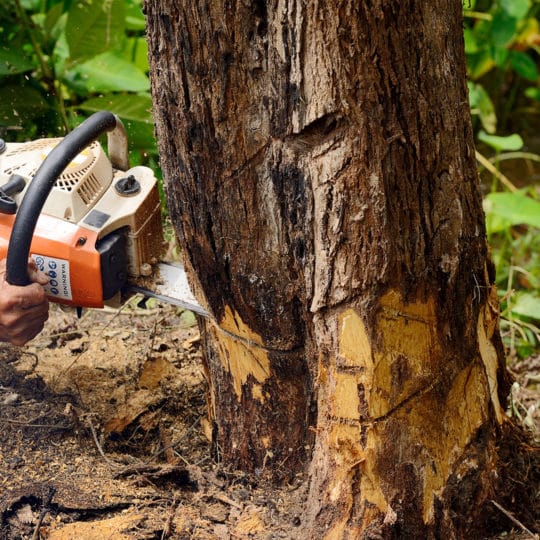
Chainsaw: Best for larger trees, faster cutting, but requires more caution and experience.
How to Cut Down a Tree with a Saw
Step 1: Plan the Fall
You want the tree to fall in a specific direction, ideally away from structures, people, or anything that can be damaged.
Look at the Tree’s Lean: Most trees will have a natural lean. This gives you a hint about which way it will likely fall.
Choose a Safe Escape Path: As the tree starts to fall, you’ll need a quick way to get out of the way. Make sure your escape path leads away at a 45-degree angle from the fall line.
Step 2: Make the Face Cut (Notch Cut)
This cut determines the direction the tree will fall. You’ll make two cuts to form a notch on the side of the tree facing the direction you want it to fall.
Make a Horizontal Cut: About one-third of the way through the tree’s trunk at a comfortable height (usually waist level).
Create the Angle: Above or below the horizontal cut, make an angled cut so the two cuts meet, forming a triangular wedge. Remove the wedge piece—this is your notch.
Tip: The notch should be open at about a 70-degree angle.
Step 3: Make the Back Cut
This is where things get serious. The back cut is made on the opposite side of the notch and helps release the tree, causing it to fall.
Start the Cut: Position your saw (or chainsaw) slightly higher than the bottom of your notch, on the opposite side of the tree.
Cut Slowly: Gradually work your way through the trunk. As you get closer to the notch, the tree will begin to lean and eventually fall.
Important: Stop the cut before reaching the notch. Leaving a thin “hinge” of wood helps guide the tree as it falls and prevents it from snapping uncontrollably.
Step 4: Move to Safety
Once you see the tree starting to fall, move quickly to your escape path. Never stand directly behind the falling tree or under the branches as it topples over. Always keep your eyes on the tree while retreating to ensure you’re out of harm’s way.
Step 5: Limb and Buck the Tree
After the tree is safely on the ground, you can begin to remove the branches (limbing) and cut the trunk into manageable pieces (bucking).
Limb Safely: Start by cutting off the smaller branches, then move to the larger ones. Cut from the outside, working your way toward the trunk.
Bucking: Cut the trunk into smaller logs or pieces, depending on your needs. Place your saw cuts carefully so that the tree doesn’t roll or move unexpectedly.
Bonus Tips for Success
Mind Your Saws: A dull blade, whether on a hand saw or a chainsaw, is dangerous and inefficient. Keep your tools sharp!
Work with a Partner: Cutting down a tree is easier and safer with a buddy. They can help guide the tree’s fall and assist in case of emergencies.
Know When to Call in the Pros: If you’re dealing with a very large or rotting tree, or if it’s near buildings or power lines, it’s best to call a professional tree removal service.
Common Mistakes to Avoid
Not Checking for Dead Branches: “Widow makers” (dead branches hanging in the tree) can drop suddenly and cause injury. Clear these out or avoid standing beneath them.
Overestimating Your Strength: Trees are heavier and more complex than they look. Trying to cut down a massive tree with a small hand saw might wear you out before the job’s done.
Improper Notch Cuts: Making a too-small or crooked notch can cause the tree to fall unpredictably. Always measure and angle carefully!
Final Thoughts:
Cutting down a tree with a saw can be a satisfying job that provides a sense of success. Preparation, caution, and technique are essential while using a hand saw or chainsaw. Follow these procedures, keep safe, and you’ll be able to take on any tree-cutting activity with confidence!


