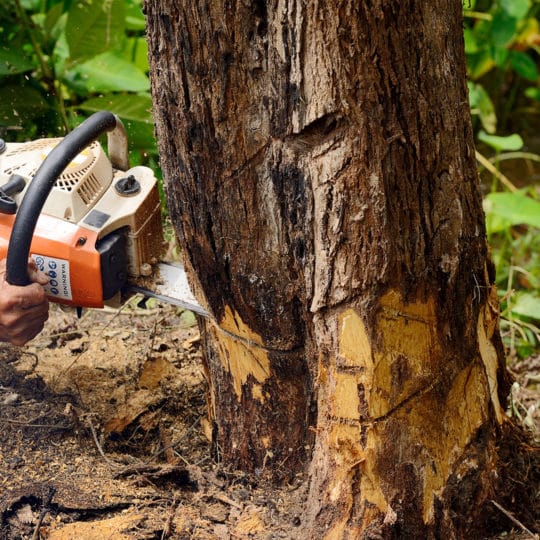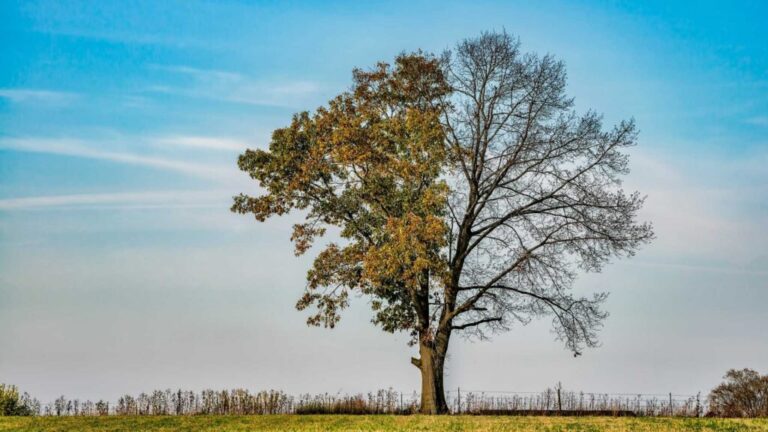
Cutting down a tall tree is a challenging task that demands careful planning, precision, and, most importantly, safety precautions. Whether you’re removing a tree that has outgrown its space, is sick, or is simply in the wrong location, doing it yourself can save you money and give you a sense of accomplishment. However, it is vital to note that cutting a tall tree is a serious undertaking. It can be dangerous, particularly if it is your first time. With the right tools, expertise, and technique, you can cut down that massive tree on your own but if you feel like not able to do the job by yourself anywhere during the cutting you can always call upon the professionals.
Before You Begin to Cut Down a Tall Tree By Yourself:
When taking down any tree, especially one that is tall, safety should always come first. The threats include falling branches and the tree itself crashing unpredictably. Here’s a list of critical safety precautions you should take:
- Wear Protective Gear: At a minimum, you’ll need sturdy work gloves, safety glasses, a hard hat, and steel-toed boots. If you’re using a chainsaw, add ear protection and chainsaw chaps to protect your legs.
- Check Your Surroundings: Make sure there are no buildings, vehicles, or power lines near the tree. The tree should have enough space to fall safely without causing damage. If power lines are in proximity, it’s best to call a professional.
- Have an Escape Plan: Identify a clear escape route before you make any cuts. Ideally, you should have at least two paths to quickly get away from the tree once it begins to fall.
- Assess the Tree: Inspect the tree for any signs of disease, decay, or dead branches that could break off during the cutting process. A decayed tree is more unpredictable when it falls, making it even more dangerous.
- Check the Weather: Wind can affect how a tree falls, so pick a calm day to do the job. Rain or snow can make the ground slippery, increasing the risk of accidents.
Tools You’ll Need:
To safely and effectively cut down a tall tree by yourself, you’ll need the right tools. Here’s a list of the essentials:
- Chainsaw: For tall trees, a chainsaw is necessary to make clean cuts efficiently. Make sure your chainsaw is sharp, properly fueled, and well-maintained.
- Felling Wedges: These are used to keep the tree from pinching the chainsaw bar as you cut and to help guide the tree’s fall in the right direction.
- Measuring Tape: To estimate the tree’s height and the surrounding space, use a tape measure or a height gauge.
- Ax: Useful for removing smaller branches or for making adjustments to your cuts.
- Rope: In some cases, a rope can be used to guide the tree’s fall. If you have an assistant, they can help pull the tree in the desired direction once the cuts are made.
- First Aid Kit: Always have a first aid kit nearby in case of any minor injuries.
How To Cut Down a Tall Tree By Yourself: A Step-By-Step Guide:
Step 1: Estimate the Height of the Tree
Before you begin cutting, you should know the approximate height of the tree. This will help you determine where it will land and whether it has enough room to fall safely. One simple method for estimating height is to move away from the tree until you can see the top at a 45-degree angle. The distance between you and the base of the tree is approximately equal to the tree’s height. This will assist you ensure that the tree falls safely and without colliding with any barriers.
Step 2: Plan the Fall Direction
Trees do not always fall in the expected direction, but you can affect the outcome by correctly arranging your cuts. Ideally, you want the tree to fall in the same direction it naturally leans. If the tree does not have a lean, select the direction with the most open area, free of structures, electrical wires, and other threats.
To ensure that the tree can fall safely, clear a zone twice the width of its height. Also, remove any underbrush, bushes, or debris that may be in your way when you need to move swiftly.
Step 3: Make a Notch Cut
The notch cut is the most critical part of ensuring the tree falls in the right direction. This cut will be on the side of the tree facing the direction you want it to fall. Here’s how to make the notch cut:
- Start the Horizontal Cut: At about waist height, make a horizontal cut into the tree. This cut should go about one-third of the way through the tree’s trunk. Make sure the cut is flat and even.
- Make the Angled Cut: Above or below the horizontal cut, make an angled cut so that the two cuts meet, forming a triangular notch. This notch should ideally have a 70-degree angle. The piece of wood you cut out should look like a wedge.
The notch helps to guide the tree’s fall in the desired direction. Without it, the tree could fall unpredictably, which is dangerous.
Step 4: Make the Back Cut
The back cut is made on the opposite side of the notch, slightly above the bottom of the notch cut. This is the cut that will release the tree and cause it to fall.
- Position Your Chainsaw: Move to the opposite side of the tree from the notch. Start the back cut about 2 inches higher than the bottom of the notch.
- Make the Cut: Begin cutting straight through the tree, but stop before you cut all the way through. You should leave a small section of uncut wood—this is called the “hinge.” The hinge helps control the tree’s fall, keeping it from tipping over too early or in the wrong direction.
Step 5: Insert Felling Wedges
As you perform the rear cut, you may need to insert felling wedges to keep the tree from falling backward and constricting the chainsaw blade. Insert the wedges into the cut behind the chainsaw. This will help to stabilize the tree while you finish the cut.
Step 6: Watch the Tree Fall
Once the back cut is complete and the tree begins to lean, move quickly along your escape route, keeping an eye on the tree as it falls. Never stand directly behind the tree, and always move away at a 45-degree angle to avoid being in the tree’s path or near any falling branches.
Step 7: Limb the Tree
After the tree has fallen, it’s time to remove the branches (also known as limbing). Start by cutting off the smaller branches first, working your way from the bottom of the tree toward the top. Be cautious when cutting larger branches, as they may be under tension and can spring back unexpectedly.
Step 8: Buck the Trunk
Once the tree is limbed, you can start cutting the trunk into smaller, more manageable pieces. This is called bucking. Be careful when cutting the trunk, especially if it’s lying on uneven ground, as it may roll or shift as you cut.
Final Thoughts on How to Cut Down a Tall Tree by Yourself:
Cutting down a tall tree by yourself can be a wonderful experience, but it is not without risks. Preparation, precision, and safety are critical to completing the work correctly and without injury. By following these instructions and taking all essential safeguards, you can effectively remove a tall tree and recover your area.
Remember: If you are unsure or the tree is in a difficult place, it is always advisable to call a professional as trees felling can be risky.
You can also read about| How to Cut Down a Tree With a Saw for more information


